Into this.
And helped to decrease the carbon footprint just a little bit.
But it was a heck of a lot of work!
More than we had anticipated when we started. It was not something we really wanted to do but the trees that the previous owner had planted were dead and lots of dead trees are a hazard. I was constantly afraid that a lightening strike would ignite them and burn the whole darn forest area down.
So they had to go.
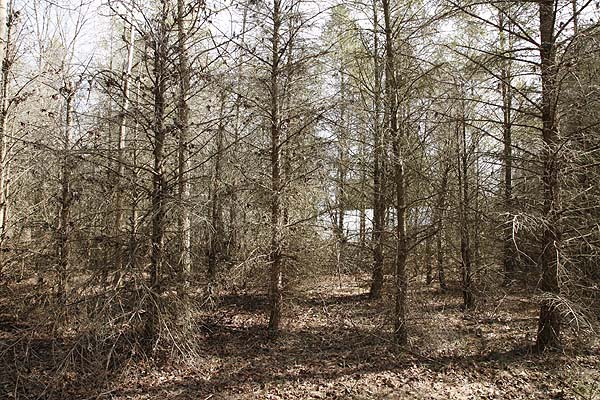
The trees had been originally planted as an attempt at a Christmas tree farm. It would have been fine if the trees had been looked after, pruned and thinned, but they were planted then totally ignored. The result was a lot of trees with trunks anywhere from 6 to 10 inches in diameter and up to 30 feet tall, but growing about three feet apart! Its no wonder the poor things died off. We knew quite a few were dead when we bought the farm but its hard to estimate just how many when you cant walk between the trees. Which as you can see was impossible due to all the dead lower branches.
Then Hurricane Sandy came along and took quite a lot of the dead ones down. We had two rows of them totally collapse, but these had been planted between several rows of white pine (who uses white pine as a Christmas tree?). these poor things were totally shaded by the much larger white pines and had all died. Sandy just flattened the whole lot. Taking those out was easy we just had to drag them away and clean up the area. Cant plant anything there because of all the white pines surrounding it but it makes a nice storage space.
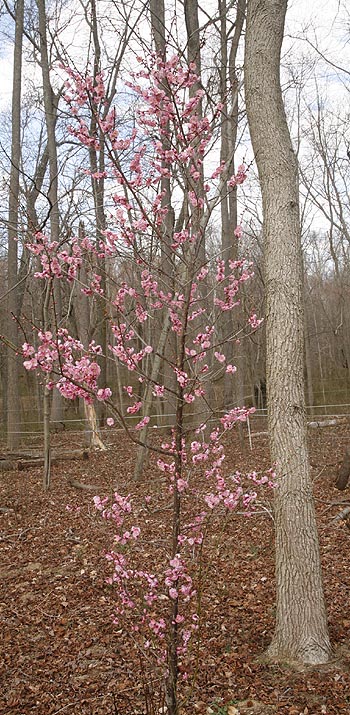
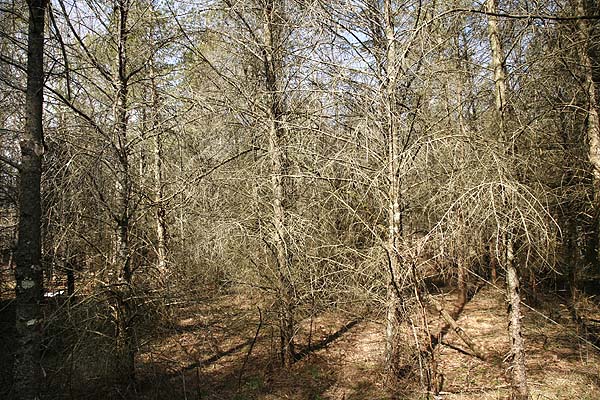
This other area had several trees come down in the hurricane but a lot were still up or half down hanging on those that were down. It was a total mess. There were also a few living trees still struggling there but those were not in good shape either. They were all mostly dead with just a few little fluffy green branches on the top of a 30 foot tree. These were not exactly helping to negate the greenhouse gases so planting something more productive and more CO2 absorbing was desirable.
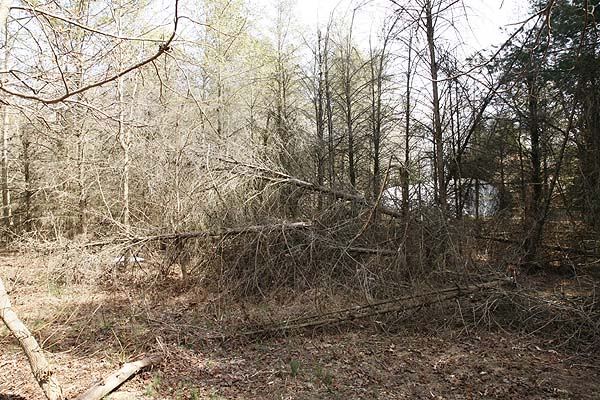
The problem was that the job looked a lot smaller when you cant see through all the dead and down trees and cant exactly figure out how many trees you have to deal with. The only thing to do is start at one end and work your way through it.
So that is what we did. Out with the chain saw and get cutting, and cutting and cutting. The more we cut down, or cut up with the large downed trees that were blocking the area, the more dead trees we found. The small area we thought we were clearing turned out to be a bit larger with a lot more trees on it that we had expected.
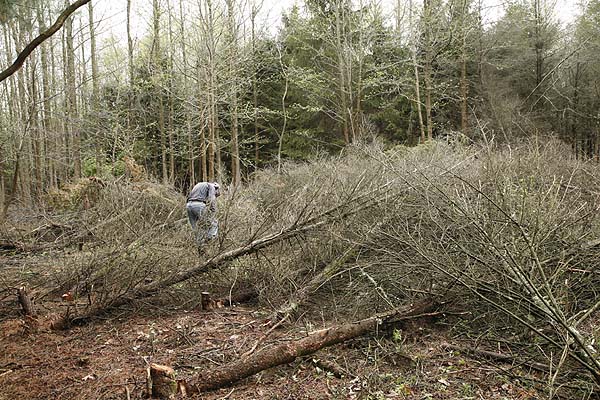
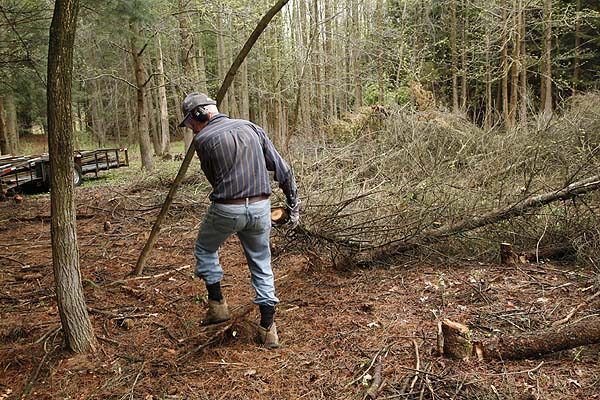
Cutting down the dead trees with chain saw
The good thing was since a lot of the trees were dead dragging them around out of the way of the next work area was not too hard. So that is how we worked. Hubby on the chain saw and me dragging the trees, and taking the photos (hence no photos or me). Some trees were too heavy for me to drag and the largest ones we had to cut into pieces. Some of the trunks were large enough to put aside and hopefully find a different project to use them in. This part took a long time. Cutting down trees is pretty fast but dragging them clear is hard work and very time consuming.
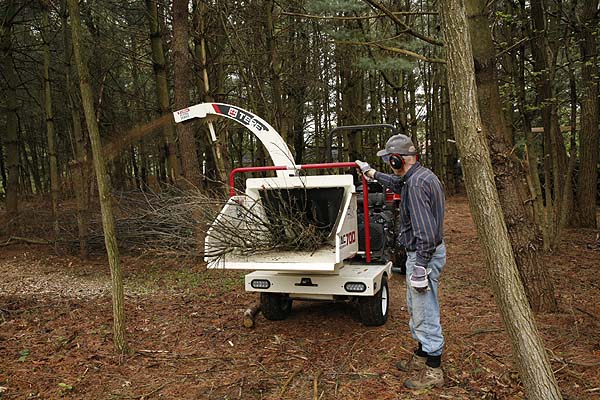
Once the trees were all down, we hired a chipper and spent the weekend dragging them over and chipping them up. Dragging all the trees to the chipper was a monumental task and certainly gives you a workout. However it’s a pretty satisfying feeling to drag a tree over to that machine and watch it eat it up and spit out a lot of useful chips. Our chip pile grew to about 9 feet tall and 16 feet across. Wood chips have a lot of great uses on the farm for the most part I use them in the aisles between the crop rows to keep the soil protected and stop moisture loss and erosion but they have lots of other uses too.
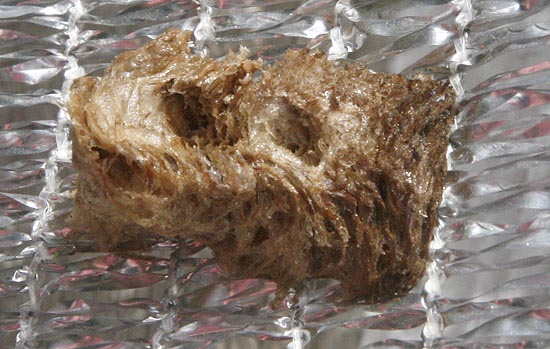
Now these kind of balsam fir trees are VERY messy, they drop all kinds of little branches and bits of twig, even the live ones are messy. So the ground was covered with a couple of inches at least of little twigs, bits of branch and all kinds of other junk. That had to be raked up and removed. If we left it and ploughed it in the bacteria would love it but it would suck all the nitrogen out of the soil and any crop we planted would fail.
This task fell to me. It took me two weeks going out every day that the weather was good enough, raking and barrowing the frass out of the way. I thought the job would never end, and its not one I would choose to repeat.
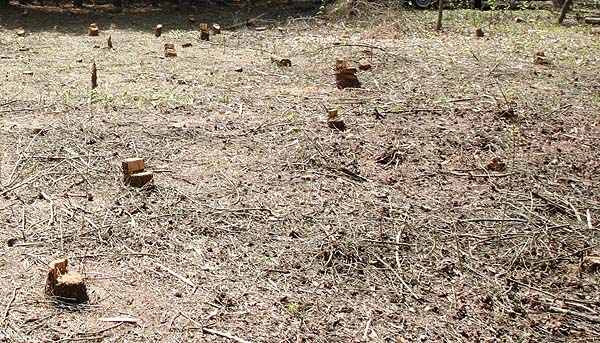
Once it was finally completed I went out and marked all the tree stumps. When I counted them up we had 117! That’s a lot of darn trees!
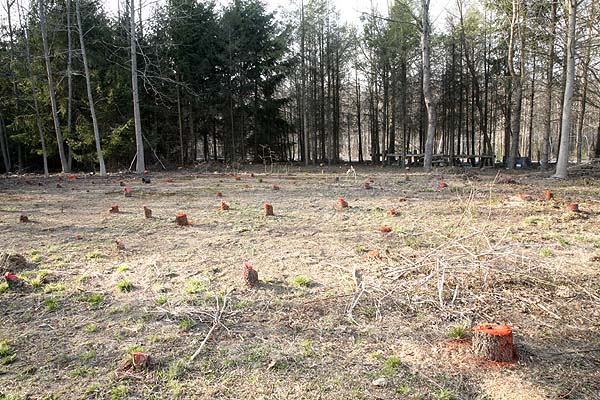
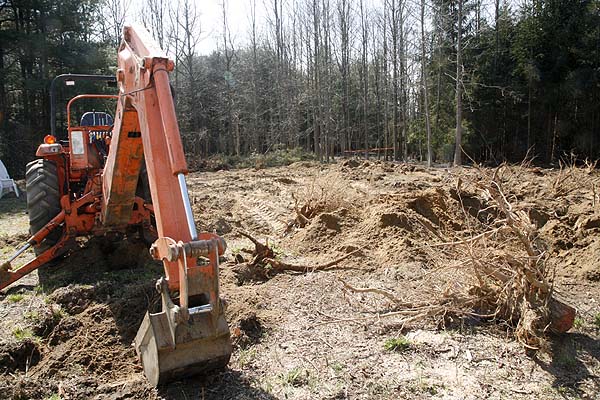
We hired a guy to come in with a backhoe and dig out the stumps for us. He was delighted to do it and Hubby stood and salivated over the machine. Yes I know he wants one but they are pretty expensive.
The guy was very helpful and moved all the stumps to one side out of the area we had designated as a field before he left. However the cleared area was all rutted and a total mess, not suitable in that state for planting. We had to get our little tractor out and plough and flatten the area for many hours before it was in any shape to consider being called a field. The final flattening and leveling had to be done by hand with rakes. Fortunately we had help with that but it took a whole weekend of moving soil before I was happy with it.
Once that was done we had to measure it and figure out the spacing of the rows that we wanted to put in. We used string to show where the rows would go. Then it was compost moving time.
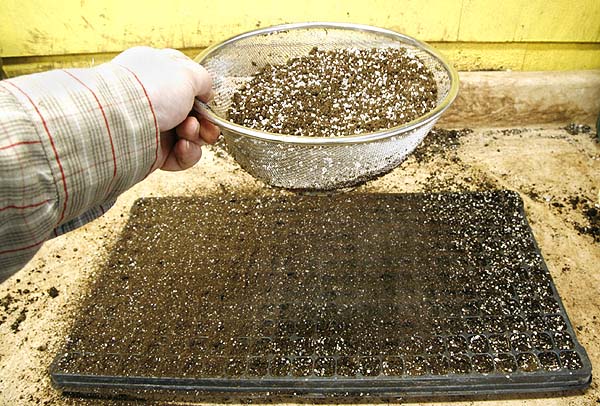
Our soil is sandy loam, its not particularly rich and has almost no organic material in it at all. This area which had had these trees on it most likely for about 20 years was going to be in very poor shape. So we knew we had to load it up with compost.
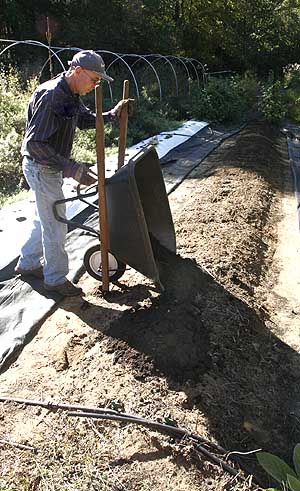
We buy mushroom compost by the truckload. We are fortunate to be relatively close to the Pennsylvania mushroom farms so a truckload of organic compost is not as costly as it would be elsewhere. Like everything if you buy in bulk it costs less. We had a truckload delivered but then we had to get it from the drop spot to the field. That meant manual labor. We had to dig it out of the pile, put it in our cart and drive it to the field, drop it on the row. Then repeat, and repeat and repeat. We hired help for this job. A lovely young women who was only too delighted to come shovel heavy compost. It was still several days work to get sufficient compost to the rows as I wanted a much higher amount in this new field than we use in our other fields since it was a first time around. We put compost only on the areas of the rows not in the aisles as this would have been a waste of compost and it increases the no till aspect of the farm. This is a method we have been using for years but is now being widely acknowledged as a more efficient method of farming.
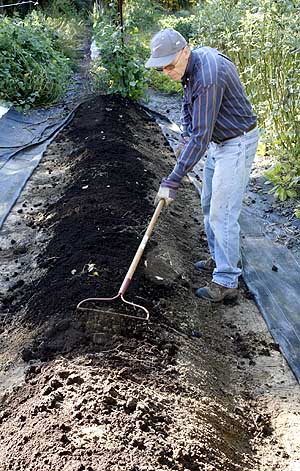
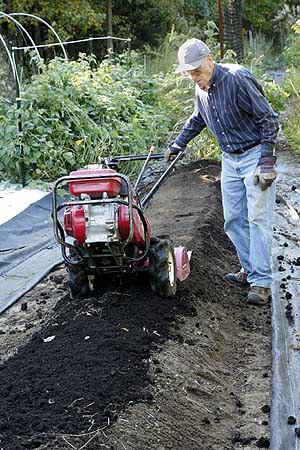
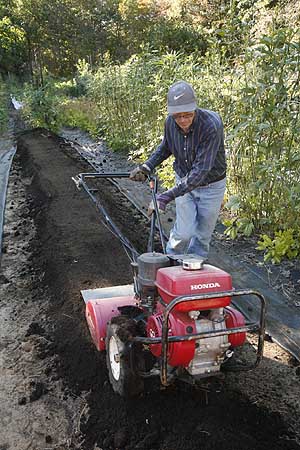
Once the compost was in place it was rototilled in, then rows were shaped by hand using a rake to ensure they were exactly where we wanted them.
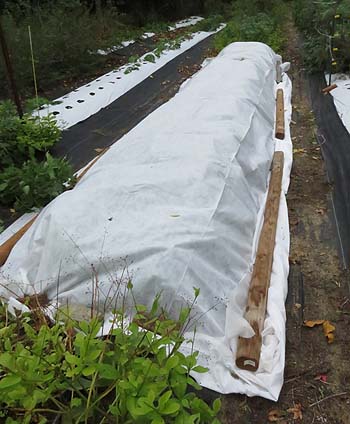
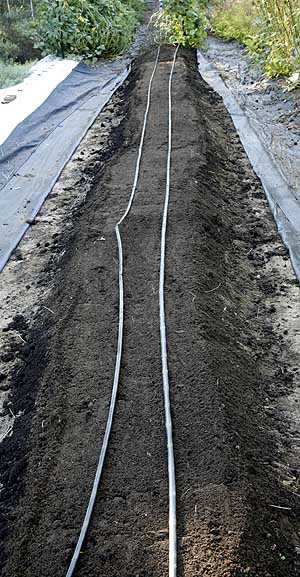
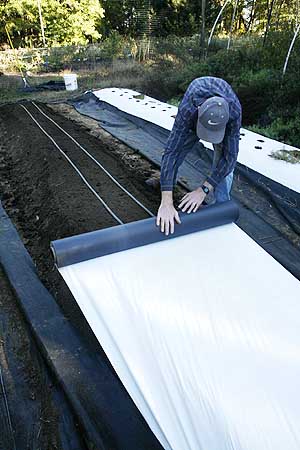
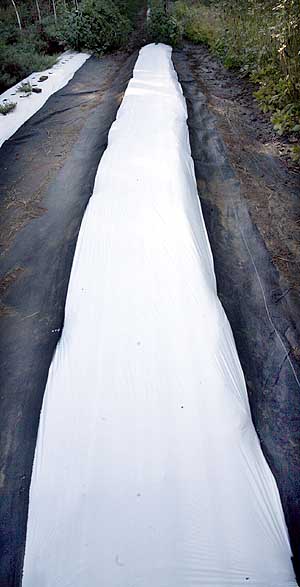
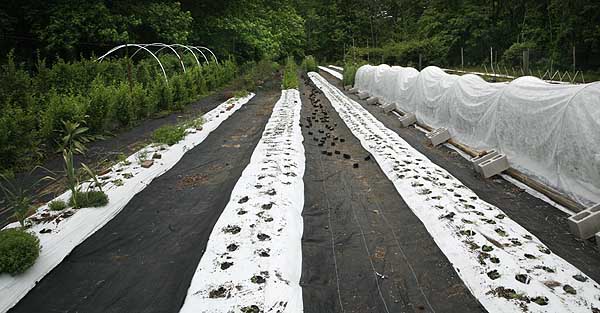
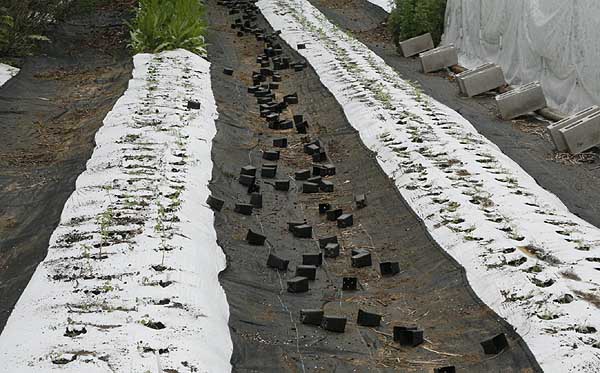
After that is was just a matter of adding the drip irrigation tape to each row and covering it with plastic mulch. We have found this essential for our soil type. The sandy soil does not hold water very well if left uncovered, plus its so fine that it will blow away in the wind. So the mulch ensures that the moisture says near the plant and the soil is protected.
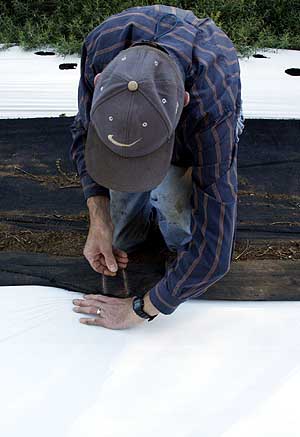
We also use ground cover fabric between the rows to keep the soil covered and prevent erosion. This is where the wood chips come in. They get spread over the aisles before the ground cover goes down. This helps protect the soil and keeps it more moist, plus it fills in any holes and makes the aisle flatter and thus easier and safer to walk on.
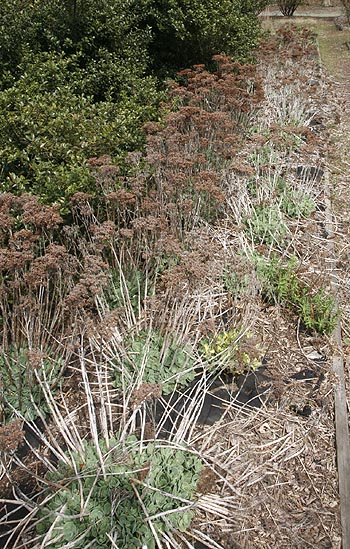
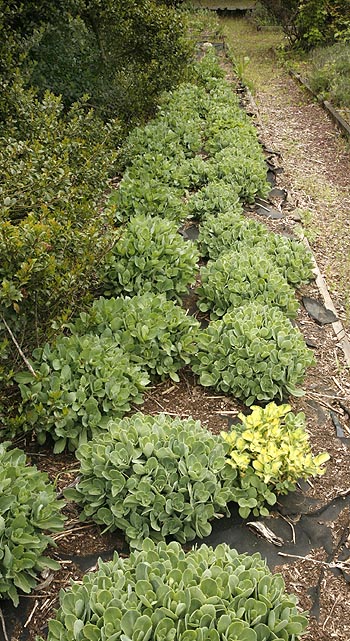
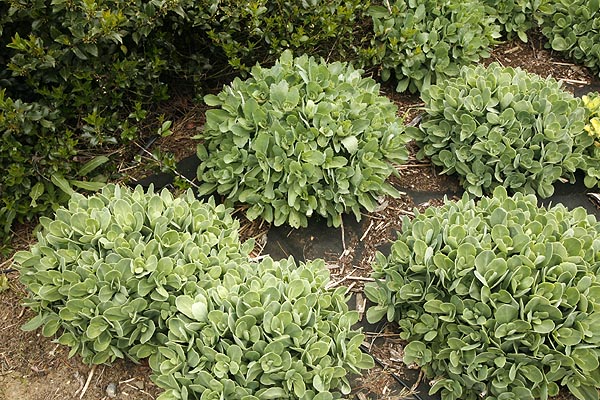
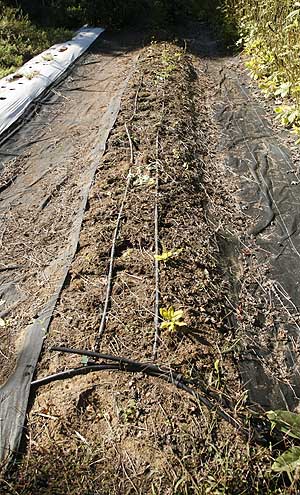
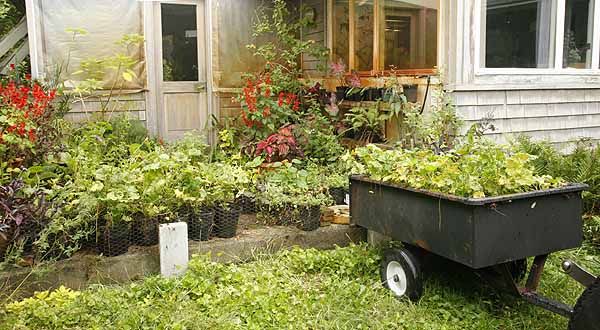
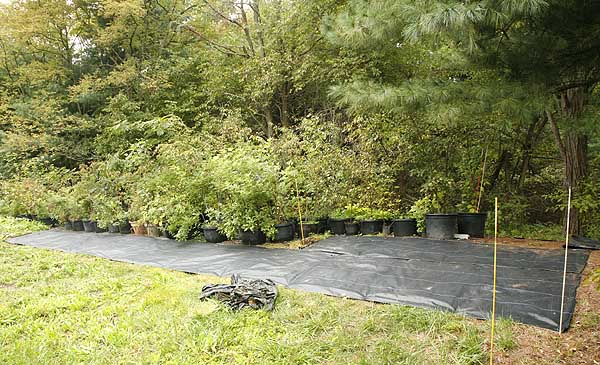
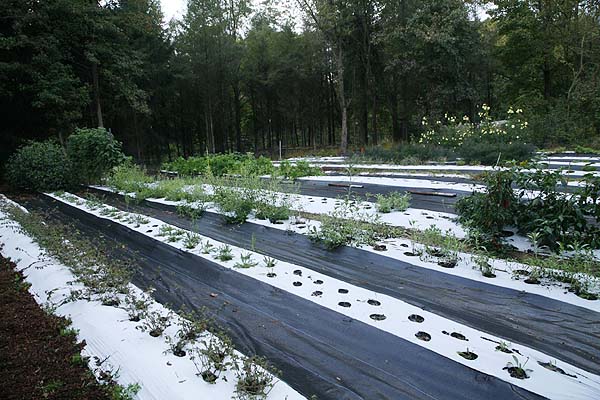
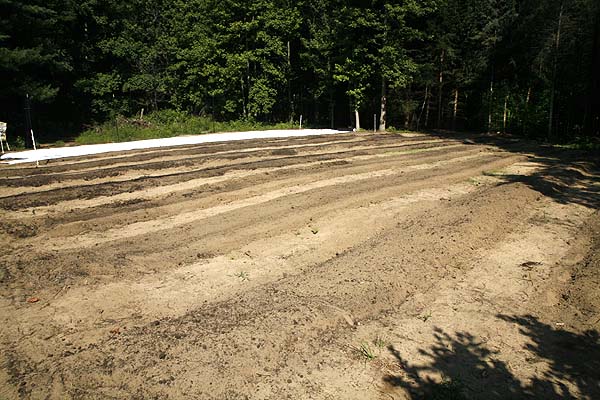
With so much work required the field was not completed until mid way through the summer so a lot of the plants went in far later than I would have liked. We had underestimated just how large the task was and how much time it was going to take us to complete. But all the plants thrived and the field is doing wonderfully as you can see from our final photo which was taken in late September. Its year one so many of the plants are still small but they all survived even though they got transplanted late. The row in the foreground has already been harvested as have a couple in the center. Those wonderful yellow flowers in the background are part of our Hibiscus manihot row and as you can see the giant flowers are visible all the way across the field. I love this plant.
But the field is not finished. Right from the beginning we had decided to put our new production greenhouse on the first four rows of the field. That’s the four in the foreground. Hence the importance of making sure the field was flat and level. As you can see the greenhouse is not there yet. That project was not completed until the beginning of December, but that is story for another day.
So it’s been a busy year!
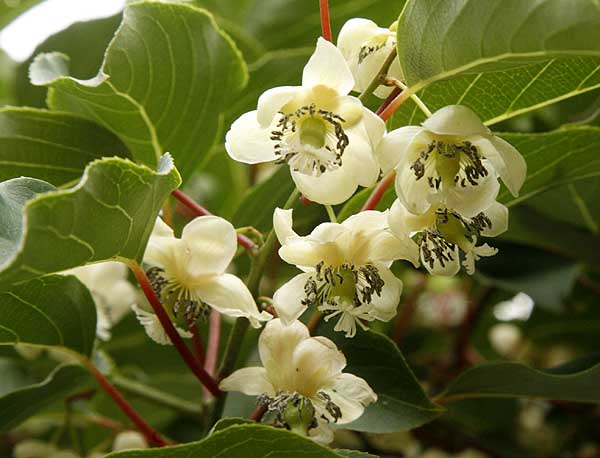 Then I had to go out and pollinate all the flowers by hand.