Drying herbs, and especially material for seeds is time consuming and takes a lot of space. As our farm has grown so has the amount of material that we need to dry. For many herb farms it’s a one step process. They gather the herb and dry that for sale. For us its two step. We gather herbs to dry but we also leave a portion and gather that for seed.
This takes a lot of space, more and more as the farm grows.
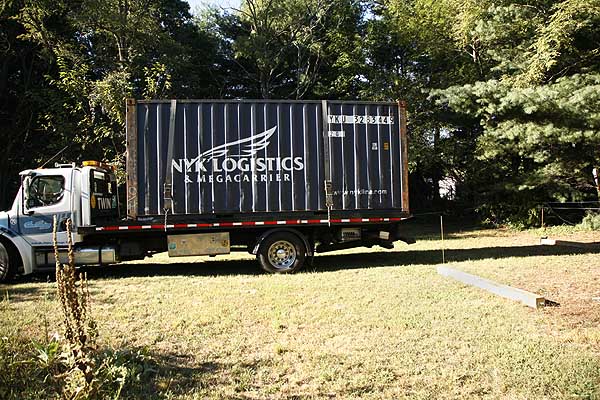
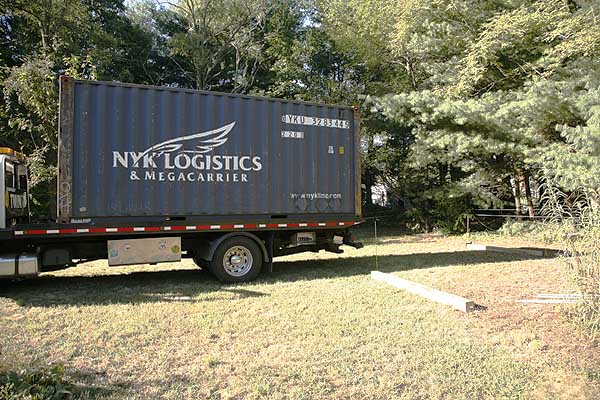
So we need a new place to dry our plant material. After some discussion we decided to do like many herb farms do and use a shipping container. These wonderful extremely versatile boxes have a multitude of uses and one of them is as a drying shed. We decided on a 20 foot model to begin with, although I think we will need a larger one later we have not cleared enough space for such a container as yet.
After walking around our property and discussing locations we agreed on one near the front of the property as a interim. We are restrained at present where we can have things delivered because the house is situated between the driveway and the fields with trees around it making it almost impossible to get large vehicles back into the field areas. So things have to be delivered to the front and then we have to move them, or they have to stay in front it we cant.
Our shipping container fortunately can be moved later. At present we have chosen the only remaining sunny location that is not being farmed to put it in. It was also ‘lawn’ – read short green stuff. So there was not a lot of clearing to be done.
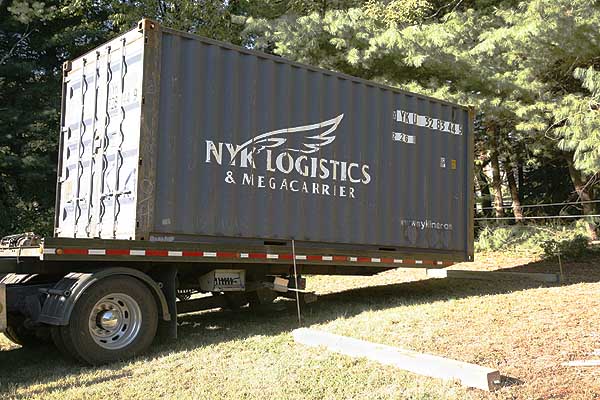
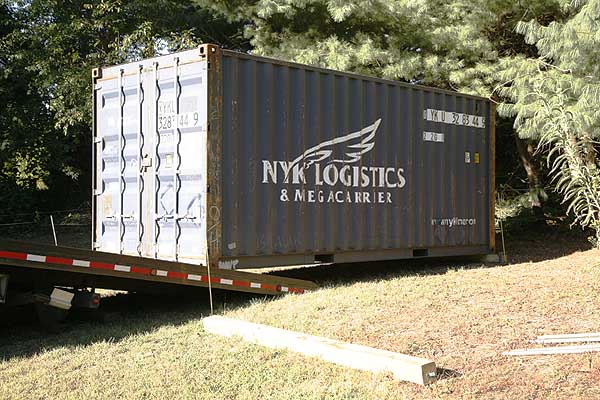
We needed to put down wooden beams to place the container on but that was all.
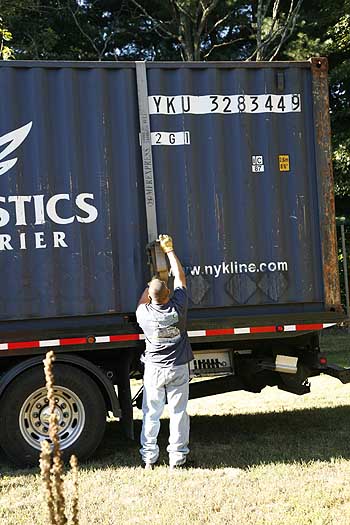
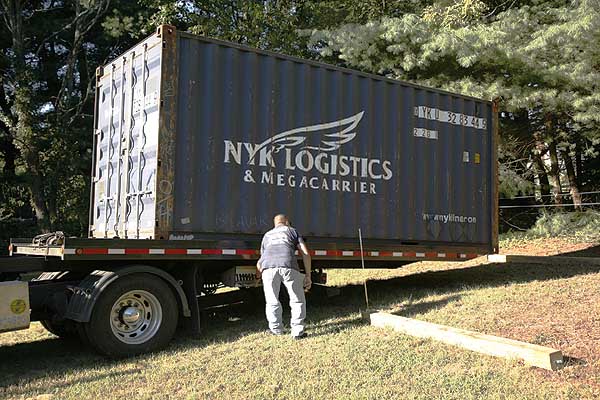
The container arrived at 8.30am Monday morning. The driver was an expert and easily maneuvered his truck to line the container up between our marker sticks and drop it on the wooden beam that we had put in place to receive it.
The trucks they use have mechanical sliding decks which allow him to raise and lower the container off the back of the truck and slide it into place. It was almost worth buying one to watch the guy install it!


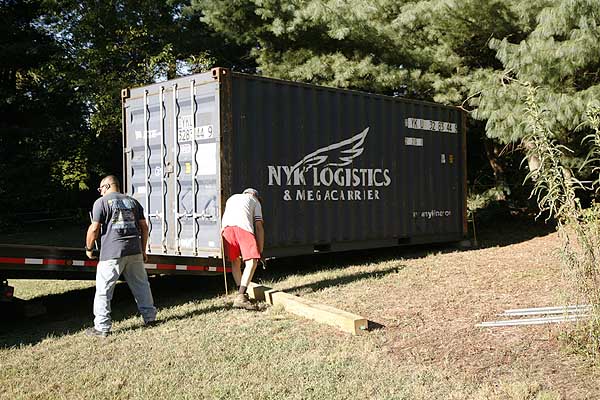
So we have the beginnings of our drying shed. We just need to pressure wash the inside and let it dry before we can start installing our stuff.