Our New drying Shed – Part 2.

It’s on its way to being great.

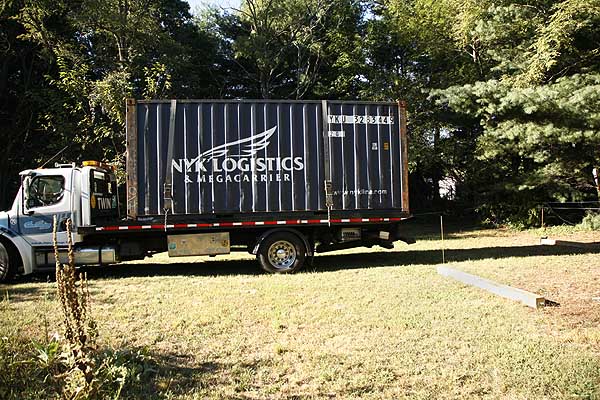
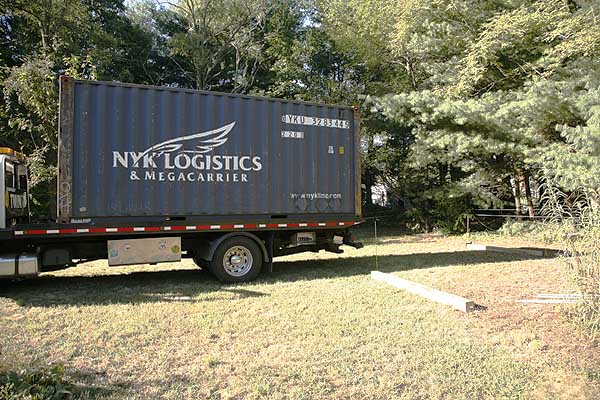
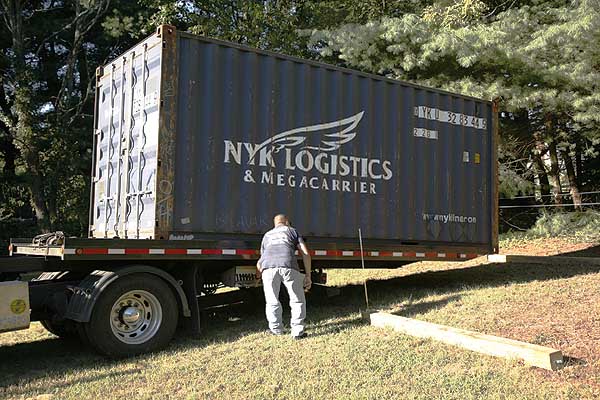
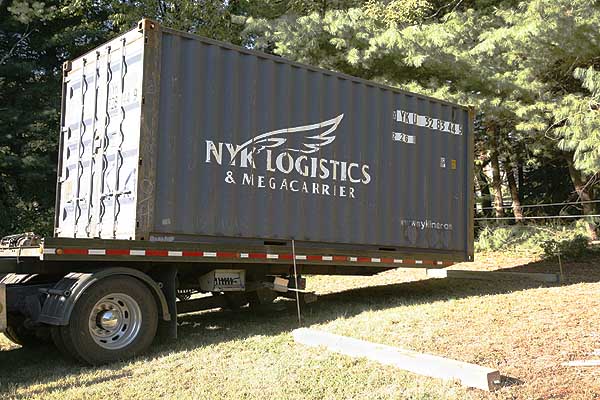
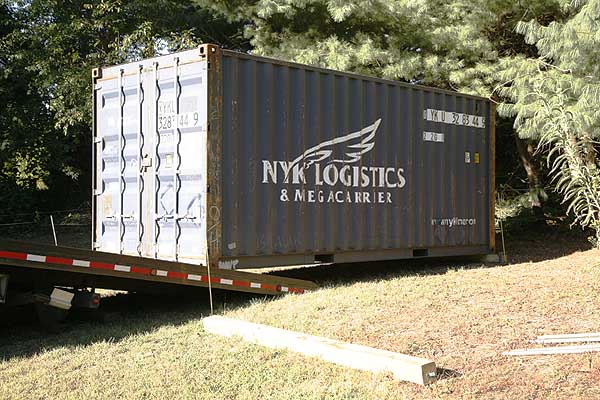
The shed is in place. It still needs a lot of work done on it to make it into what we really need but most of that will have to wait until the winter and early spring. For now we needed to get it so we could use it immediately.

So. First we pressure washed the whole of the inside, a wet job but at least its hot weather so we dried off fast.

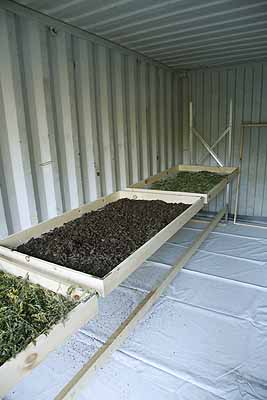
After leaving it two days to completely dry out we put a white tarp on the floor to catch the seeds. We want to put down proper flooring later but finding the right stuff at the right price is going to take some time. We are not paying to price for flooring for the shed!

Next it was put up the shelving for the drying racks. Does not look like much but it took all day to put these in.

Finally we could add the drying racks and get some material in their to dry off. It get pretty warm in their so it should only take a day or so before the material is really dry. This extra capacity is really going to speed up our farm performance.

herb drying in storage container
Phase one of our new drying shed.

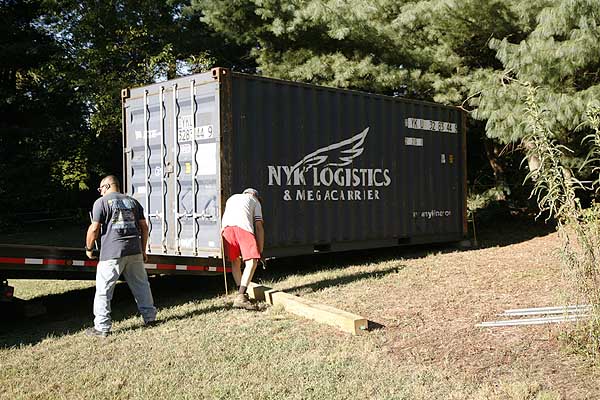
Since we have no ventilation at the moment we are leaving the main doors open to the air and only shut them on threat of rain, which sadly has not been very often these past few weeks.

So we also had to add some deer fencing across the doors to stop the critters getting in. It’s a bit unlikely that a deer will jump in there but not impossible. Fortunately we have not seen any bears this year but its guaranteed if we assume they have gone that one will get in there just to prove us wrong.

Its not perfect yet but its getting there. The next installment on this project wont be until the winter or early spring when the harvest is over.

Shelves in herb drying shed
First shelves in our new drying shed.

Our new drying shed. Part 1.

The container arrives.

Drying herbs, and especially material for seeds is time consuming and takes a lot of space. As our farm has grown so has the amount of material that we need to dry. For many herb farms it’s a one step process. They gather the herb and dry that for sale. For us its two step. We gather herbs to dry but we also leave a portion and gather that for seed.

This takes a lot of space, more and more as the farm grows.

So we need a new place to dry our plant material. After some discussion we decided to do like many herb farms do and use a shipping container. These wonderful extremely versatile boxes have a multitude of uses and one of them is as a drying shed. We decided on a 20 foot model to begin with, although I think we will need a larger one later we have not cleared enough space for such a container as yet.
After walking around our property and discussing locations we agreed on one near the front of the property as a interim. We are restrained at present where we can have things delivered because the house is situated between the driveway and the fields with trees around it making it almost impossible to get large vehicles back into the field areas. So things have to be delivered to the front and then we have to move them, or they have to stay in front it we cant.

Our shipping container fortunately can be moved later. At present we have chosen the only remaining sunny location that is not being farmed to put it in. It was also ‘lawn’ – read short green stuff. So there was not a lot of clearing to be done.

We needed to put down wooden beams to place the container on but that was all.
The container arrived at 8.30am Monday morning. The driver was an expert and easily maneuvered his truck to line the container up between our marker sticks and drop it on the wooden beam that we had put in place to receive it.

The trucks they use have mechanical sliding decks which allow him to raise and lower the container off the back of the truck and slide it into place. It was almost worth buying one to watch the guy install it!

Location for container
Location for the new shed with wooden support logs. Back on is in place and sticks mark the exact position where the container will be placed.
Container arrives on truck
The container arrives strapped on the back of truck and is slowly backed into position.
Straps are removed.
Straps are removed.
Container is now backed carefully into place with extreme accuracy.
Container is now backed carefully into place with extreme accuracy. The truck driver is really good at this.
Moveable truck bed slides the container back and down to allow for easy placement.
backing container into position.
Truck is backed up a bit more to lower the back end of the container.
adjusting the container positon
A little more sliding and lowering to get the container right on the mark
Container is dropped perfectly onto the back log.
Front log is pulled under the container before it is finally lowered into position.

So we have the beginnings of our drying shed. We just need to pressure wash the inside and let it dry before we can start installing our stuff.